Tuesday, June 21, 2011

No-Bake Oreo Delight

Here's the deal. I am not the best cook in the world (I leave that up to my husband), that's why my blog is about crafts & decor! However, when an simple recipe comes my way (like this one) I am up to giving it a try! There are three reasons why I love this recipe:

1. It's no-bake
2. Involves 3 ingredients
3. Can be whipped up in about 15 minutes!


Ingredients:
  • 5 cups large marshmallows
  • 4 tablespoons butter
  • 16.6 oz package of Oreos
1. Open up the bag of Oreos and place into a food processor (blender works too) and pulse until ground.


2. Melt marshmallows with butter in microwave for 1 1/2 - 2 minutes. 


3. Pour mixture into Oreo bowl and stir. 


4. Line an 8x8 inch baking pan with foil and  then transfer the Oreo mix over to it. Let it set for 10 minutes.


5. Pull out foil and cut Oreos to squares. 
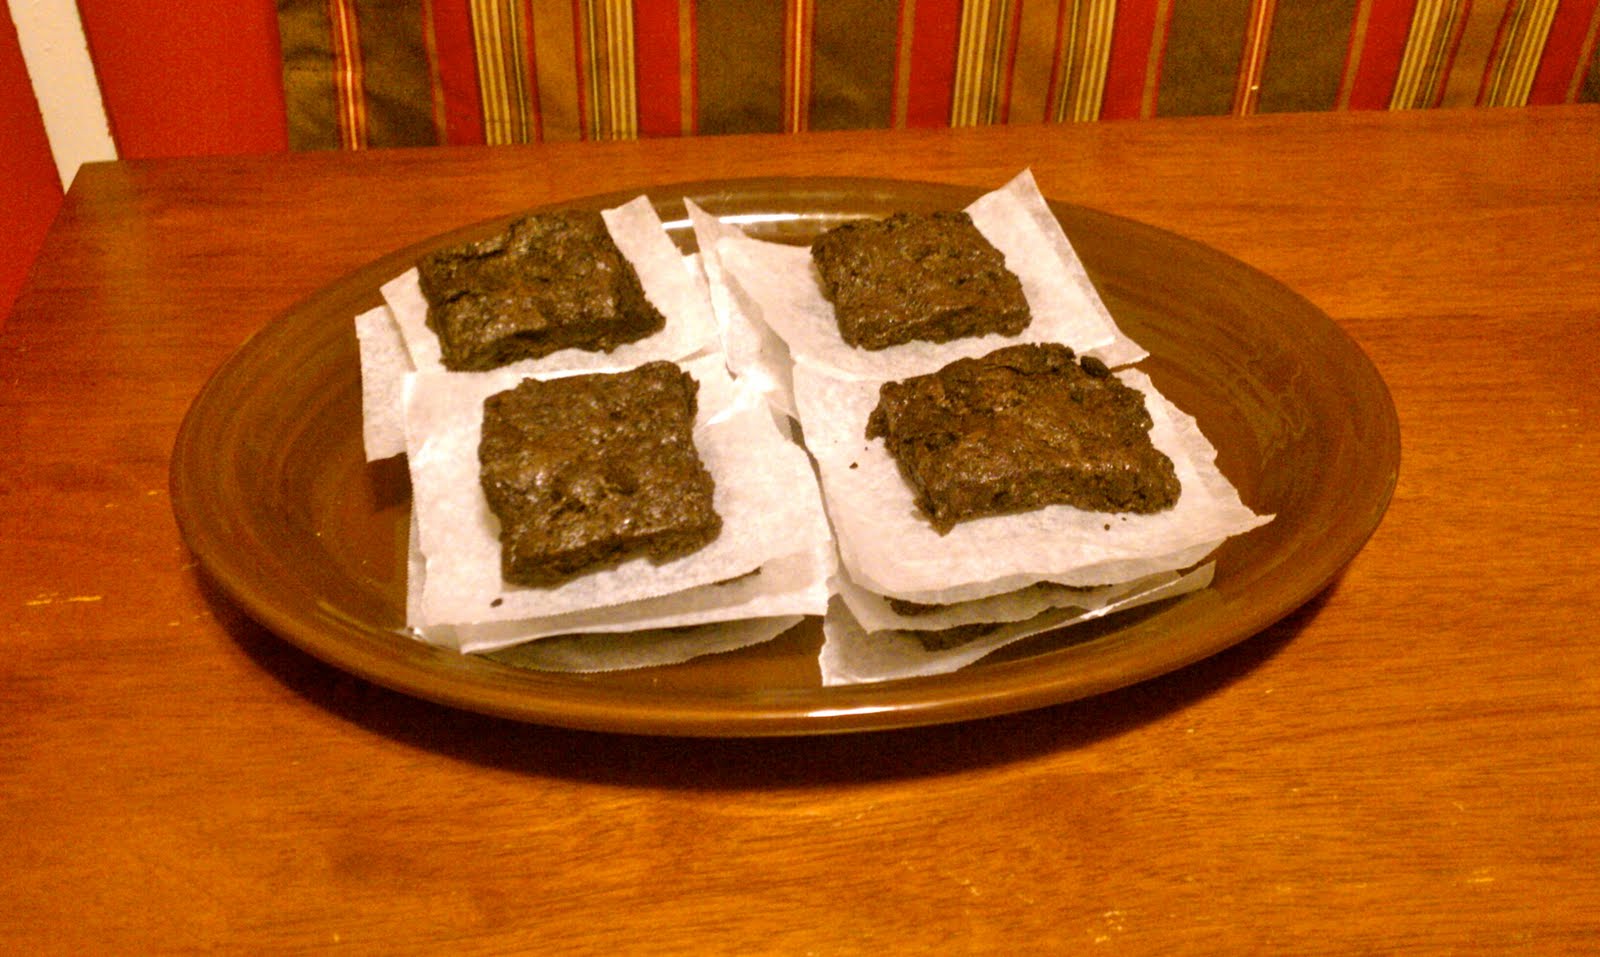

6. Finally. . . Indulge!!! Doesn't matter how many calories...just enjoy ;)

My hubby Ryan enjoying his Oreo Delight :)
~Wishing you creative bliss~


Monday, June 20, 2011

Transforming That White Wall: DIY Wall Decor

My one pet peeve when it comes to decorating is leaving a wall completely white and blank. A solution to this is a DIY (do it yourself) Wall Decor project that is:
  • Inexpensive 
  • Time conscientious 
  • Wall transforming :)
  • Chic & Fun!


Materials Needed:


  • Embroidery Hoops 8,6, and 4 inch
  • Fabric (I got 1/2 yard of each and had extra for another set)
  • Scissors
  • Spray Paint (optional)
  • Hammar/Nails
Steps I took:

1. (Optional Step) There are two pieces to the hoop (inside & outside piece). Take the inside piece out and with some old newspaper on the ground spray paint the outside of each hoop.


2. While the outside pieces are drying take the inside pieces to measure how much fabric should be cut. Cut the fabric about an inch around the hoop.


3. Lay down the inside piece and put the cut fabric on top of it. When the outside piece is dry loosen the knob at the top and place it on top of fabric and inside piece. Tighten the knob and pull fabric so it will be nice and secure!


4. Cut off any extra fabric. This is what the back of mine looked like. Repeat steps 2-4 with the other hoops.


5. When you are finished transform your wall by hanging up your new wall art!

Here is my blank wall transformation:

Bland...


Super Cute!!!!

Closer Look :)

I love this DIY wall decor and can't wait to do more with my extra fabric! 
Remember the more the merrier :)

~Wishing you creative bliss~


Monday, June 6, 2011

Unique Beaded Serving Set

June is the most popular month for weddings, and you know what that means?! It's gift getting time!!!

When Ryan and I got married some of our favorite gifts were the unique, handmade ones! So, my friends Kelly and Julianna gave me a great wedding gift idea. . . a unique beaded serving set! 


This gift is practical and inexpensive :) Here's what we used:


  • Serving spoon, fork, and cake cutter ($3 .00 Dollar Tree)
  • Beads (we found necklaces that never get worn and used the beads from them!)
  • Beading Wire ($2 .47 Hobby Lobby)
  • Wire Cutter/Scissors

Beading the serving set is simple and quick to do!

1. Cut about a foot of wire (probably will have extra, but that's okay). Grab one end of the wire and begin by wrapping it (choose any of the three serving pieces) three or four times around the handle. 


3. Select a bead and thread it through the wire. Repeat this step until you feel it's complete :)


4. Both the beginning and the end wire on the back handle should be secure by wrapping it a couple times through the wire. 

Back Handle

5. Repeat the steps and do the other serving pieces!

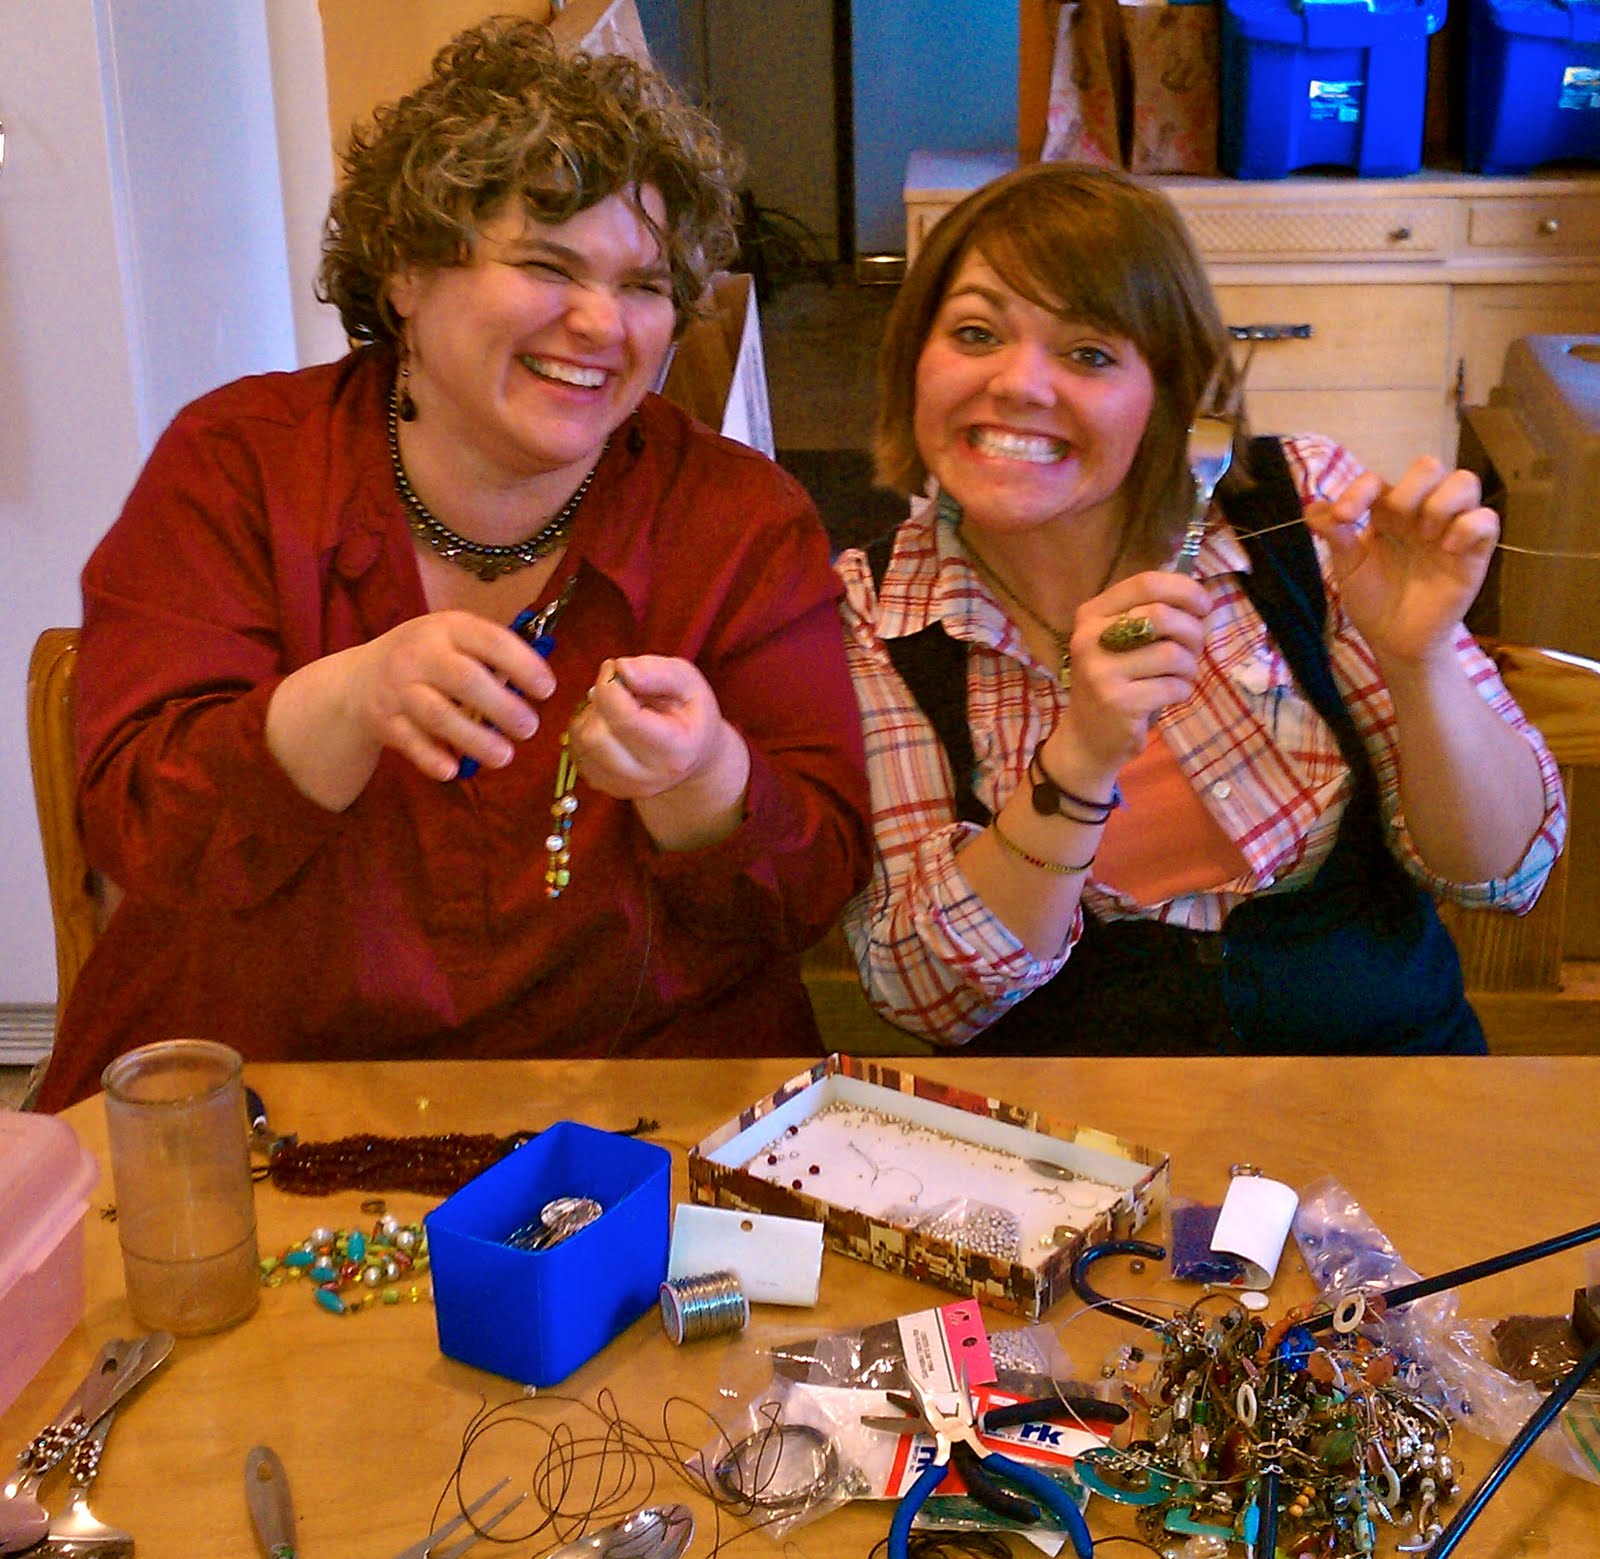
Kelly & Julianna making their set!


Kelly's Set


My set :)

Make the next wedding gift you give be personal and unique. . . just like this serving set :)

~Wishing you creative bliss~