

Today's lovely craft that I completed is some DIY Summer Citrus Coasters, but before that let me say a few words :)
Wow! It has been so long since I have last posted! A LOT has happened in my life since then....for one I am a college graduate from Grace University with a degree in Secondary Education and Religion!!!! Can I get a WOOP WOOP?!?! My husband also graduated right along side me, so it was a very special moment for the two of us :)

Now we are both on the job hunt and are excited for what God has in store for us! Thank God summertime is fully approaching and I have some time to craft again! I recently was busy making gifts for Mother's Day and also a Thank-you gift. Thanks to Pinterest I came up with some pretty spiffy gifts.
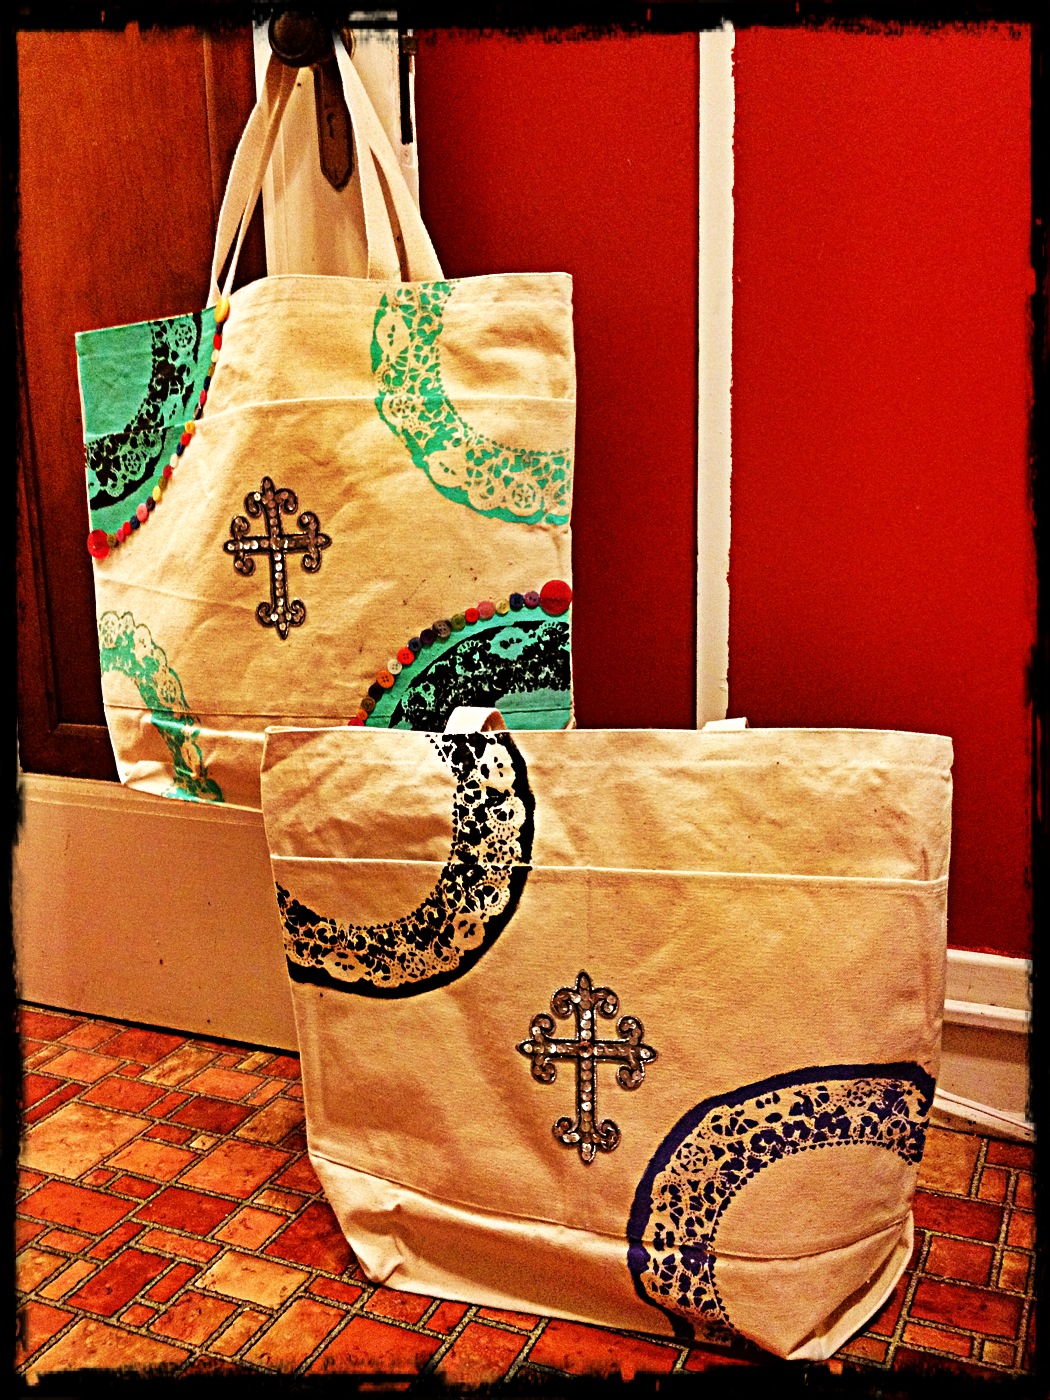
For Mother's Day I took some doilies to a canvas bag with just a little paint to create a chick carry all tote. Visit Under the Sycamore for the full tutorial. The picture below the totes is some Mason Jars I took and filled them with pampering goodies. This is really a perfect gift for any occasion :)

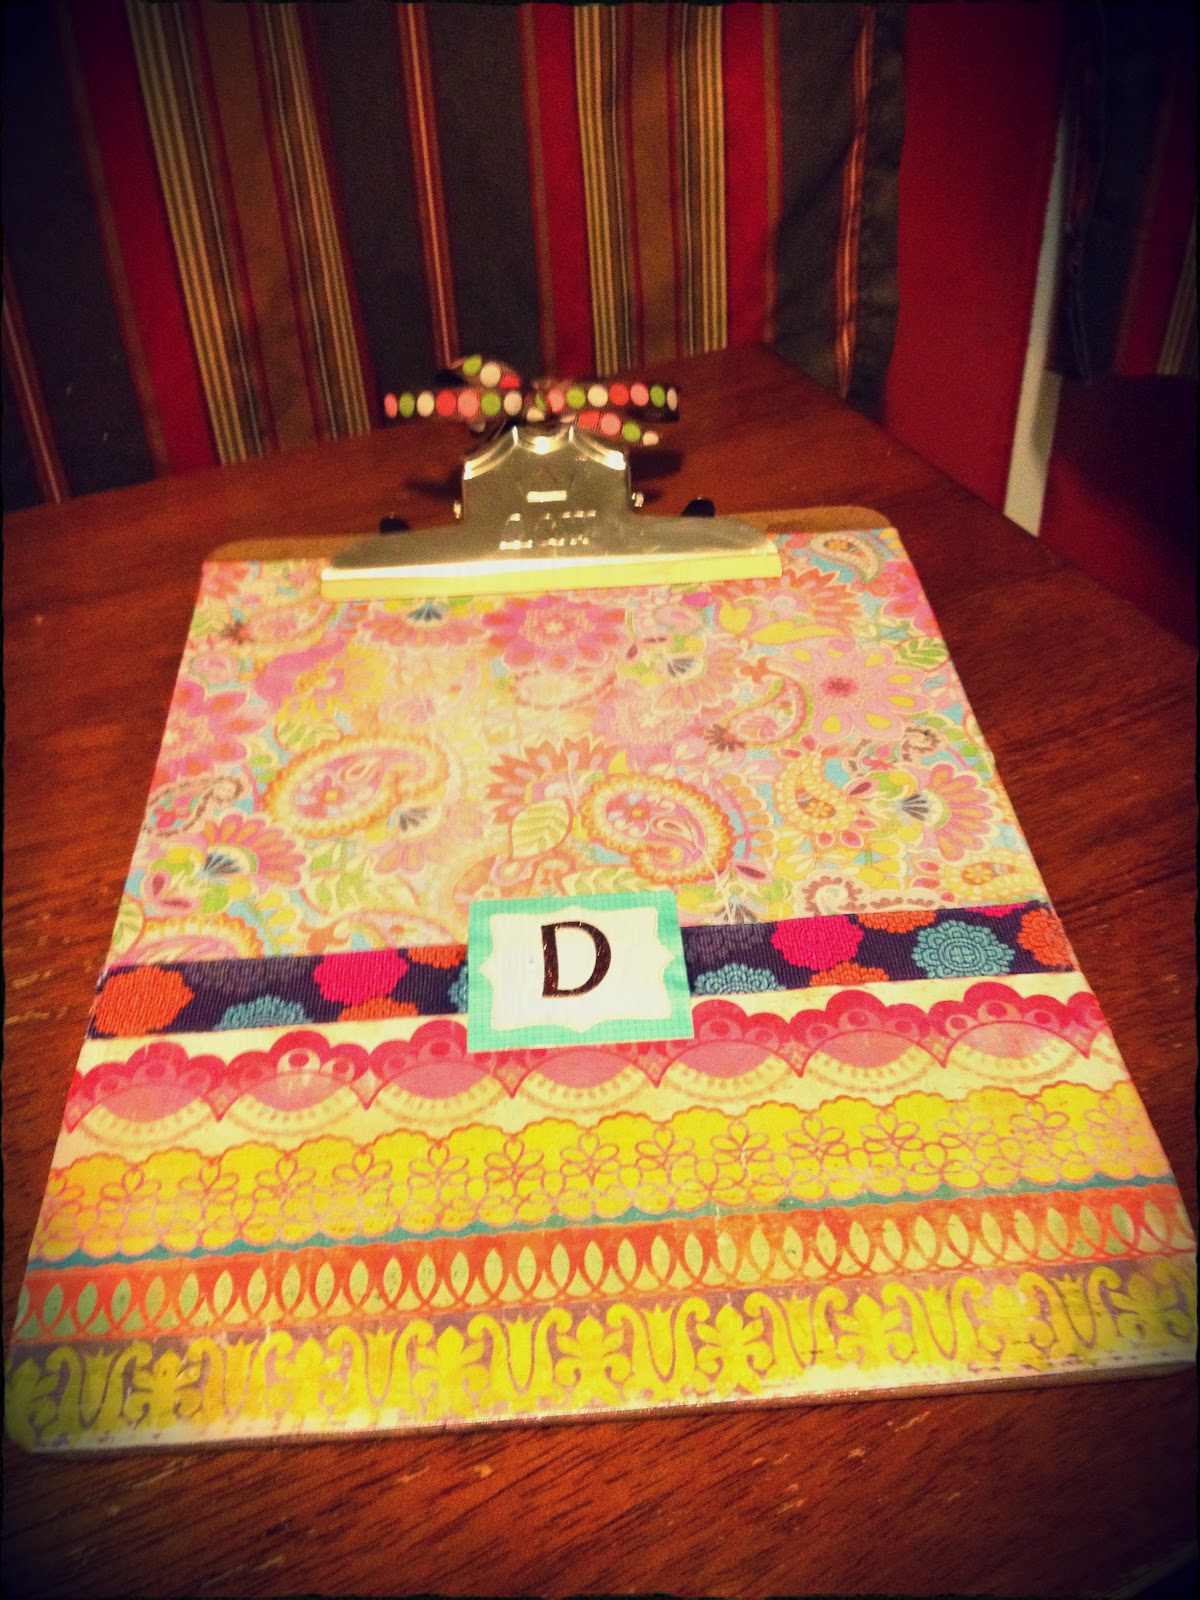
My teacher thank-you gift inspiration came from 1 Wasabi Mommy and Echoes of Laughter. The great thing behind these gifts is you can get almost all the supplies from the Dollar Tree! It was very tempting not to keep these cute items for my own classroom ;)

I know you are itching to see the instructions to the summer citrus coasters so here you are :)

I was inspired by this project at The Purl Bee blog. Hop over to her site for a template and full depth instructions to this crafty craft! Here is how I completed the coasters:

Supplies:
- Colored & White Felt (I used white, pink, green, and yellow)
- Embroidery Thread, needle, and pins
- Scissors
- Optional Printable Template @ The Purl Bee
1. Go the Purl Bee if you want the template to help out! You will first start off by cutting out the following using :
- 2 Large Circles for the peel and backing (take a glass that you have and you that for measurement if not using the template)
- 1 Medium Circle for the pith
- 6-8 Colored Triangles

2. Take the triangles and pin them to the pith and peel (not the backing yet!) I made the "seeds" by folding the triangle and cutting a mini triangle inside of it.

3. Using your embroidery thread (looks better if it's matching color) doing a small running stitch on the edges of the triangles.

4. When finished stitching your triangles pin the backing to the citrus peel, and then hide your embroidery knot between the peel and backing. Start a small running stitch all around the coaster. Do this until the citrus is stitched all around :) I tied a small knot when I was completed and hid it between the two pieces and snipped the rest off!
5. Trim the edges of the coaster to give it a nice and clean look.

6. Enjoy them inside or outside with a nice glass of your favorite beverage OR give them as a lovely housewarming gift for this summer :)


I would love to hear success stories of how your crafty crafts turn out so leave a comment below!
~Wishing you ALL creative bliss~