Showing posts with label DIY. Show all posts

Thursday, January 17, 2013

5 DIY Headboard Ideas


So, I have a confession to make... I am a pinaholic. I. LOVE. PINTEREST. Who doesn't love Pinterest?! I think I even catch my husband liking, laughing, or wanting me to pin certain ones when I am on and he is near by! I remember one of my first pins was a DIY headboard idea. So, thanks to Pinterest today's post is dedicated to my favorite DIY headboard ideas. 

1. Rustic Window Influence:

Something Breezy
My first headboard idea is featured from no other than...moi. Using old windows just adds an element of rustic chic to any room. This is a fairly simple DIY because all the materials you need are window(s), fabric, and a staple gun. The best way to get these rustic windows is either from antiquing/thrifting OR find a family/friend who has barn connections. I was lucky and had a friend grab these at their family farm.

Here are the three easy steps I did to make mine:
  1. Wipe/Clean windows up
  2. Measure and then cut fabric 
  3. Staple fabric onto the back of the window


YAY! Super easy and super cute! My favorite part about this is you can change out the fabric any time that you please...nothing permanent. Here is the picture that I got my inspiration from:

the boo and the boy
2. Cozy Up:

Better Homes and Garden
I am all about cozy. Find a fireplace screen, unfold, and hang. I would spray paint it an accent color so it would complement with the other colors in the room. Throw some Christmas lights around it to make it extra cozy.

3. Bookworm:

Better Home and Gardens
AAAAAHHH for those bookworms, this one is for you! One of my favorite DIY headboard ideas yet again comes from Better Homes and Garden. Curtain panel, curtain rod, fabric markers, and favorite quotes....few materials to make a bold statement would make this DIY well worth the time!

4. Reclaimed Wood:

Remodelaholic
I hate throwing away items when I know I can reuse it for something better! This DIY uses reclaimed wood and makes it a great upcycling project, and who wouldn't want to give back to the enviornment?!   Head over to Remodelholic for the full tutorial.

5. Chalk It Up

Apartment Therapy
I am obsessed with chalkboard markers. So, any time I get to chalk it up, I will! This DIY is simple and versatile by being able to erase and draw/write whenever you please. Inexpensive chalkboards can be found at Hobby Lobby or any other craft/decor supplier. 

So, there you have it, Something Breezy's top 5 DIY headboard ideas that I absolutely adore. 

As always,
~Wishing you creative bliss~
~Breezy

Tuesday, June 5, 2012

No Sew Dishtowel Pillows

Are you excited about today's NO SEW CRAFT?! I AM!!! 


Today's craft inspiration is featured on the blog In My Own Style. 

So, here's the deal: I am slowly learning how to become a better seamstress, so in the meantime I am still obsessed with crafts that have no sewing required! 

This craft is perfect for so many people (and just to list a few):
  • Those who hate to sew
  • Budget Buyers
  • Last Minute gift givers
  • College Students
  • Home OR Outside Decorators 
If you don't have these following supplies, grab your shoes and head to your nearest craft or fabric supplier:


  • Fabric Glue (Mine was Crafter's Pick $4.99 @ Hobby Lobby)
  • 2 Dishtowels (I got mine tan one at Dollar Tree and cheated and got some fabric at Hobby Lobby, because I needed last minute gifts!) Target and TJ Maxx have cute, but inexpensive ones as well :)
  • Poly-Fil Fiber OR Pillow Form (Can get these at a craft or fabric store, just make sure pillow form will fit dishtowel size) *TIP get a pillow that is going to be small enough so you can fold your fabric over. 
  • Embellished Pin OR Button
  • Optional: Iron, Elastic, & Scissors
In my Own Style shows three different variations to make your no sew pillow form: back-flap, front-flap, or no-flap. 

I documented the front-flap style, and here it is!


1. The great thing about buying the dishtowel is that the hem is already in place for you!  So line your dishtowels up so that they meet evenly with one another. Make sure that the wrong sides are facing each other. If you got two of the same sizes you shouldn't have to do any trimming :) YAY, SO EASY! *I had extra fabric which helped me during the fold, but do not worry if you don't because yours will still fold without it!


2. Grab your fabric glue and begin to glue the hemmed pieces together, pressing along the hem as you go so it will adhere. Don't worry about the white glue showing, it will dry clear :)


3. Continue to glue the two pieces together except for the top in which your pillow will go in! For extra adhesion, take your iron on the seams to seal. 


4. Optional: I did do just a tiny bit of simple sewing, using elastic and a button to hold my fold for the pillow. Complete this step now. 


5. Place your pillow or Poly-fil in your form and fold over your remaining fabric from your dishtowels to make a flap.... remember that I had extra fabric so yours may look a little different. 


6. If you haven't already,  attach an pin to embellish the flap for a complete look to hold your pillow together!


7. These are not only great for inside decor, but also for your front porch/deck decor!


Comment below, and let me know success stories!
~Wishing you Creative Bliss!~
~Bri


Friday, June 1, 2012

DIY Summer Wreath

 This is by far one of my favorite crafts I have completed so far. You know you want to bring some extra warmth this summer into your home by making this adorable wreath ;)  


I got this crafty inspiration from A Glimpse Inside if you need some more guidance.

Here's what I used:

  • Large Frame (try goodwill for a inexpensive one)
  • Ribbon
  • Scissors
  • Scrapbook Paper/Alpha-Stickers
  • Buttons
  • Twine 
  • Hot Glue Gun OR Need/Thread
1. Start by painting your frame if you are not satisfied with the color.
2. Here is the time consuming step, making your rosettes (otherwise known as yo-yos OR medallions).


3. There are two ways to make these:
 -Using a glue gun 
OR
-Hand stitch with a good ole' needle and thread (Here is a great tutorial A Glimpse Inside (How-to Rosettes)

I did try both, and since I am not much of a seamstress I did most of mine with the glue gun! If you don't want to make them with a glue gun hop over to A Glimpse Inside (link above) to follow her hand stitched rosettes. 

4. Begin by measuring your ribbon out to about a yard and then cut it. 


5. Now, they don't call it a hot glue gun for nothing, so be very CAUTIOUS because it is going to be hot ;)

6. These may look complicated, but they really are just a simple accordion fold. So you will go back and forth gluing the inside part of your rosette after each fold (you only need about a little line of glue).


7. When you get close to the last bit of ribbon gather the two ends and glue them together. 


8. Add a cute little button and continuing to make the rosettes enough to fill your frame!


9. Figure out the way you want to place your rosettes and then use the glue gun to put them into place. 


10. The last touch is to make a little bunting banner using scrapbook paper and stickers. Hop over to A Glimpse Inside for quick reference for her quick steps in creating it.


11. Glue a little twine to your bunting banner and hang it to your frame. Add some ribbon to the top to give it a complete look!


12. Hang it your front door for the perfect summer welcome wreath! 


13. Hope this brings lots of extra WARMTH into your home this SUMMER! Comment below :)

~Wishing you Creative Bliss!~

Wednesday, May 23, 2012

DIY Summer Citrus Coasters


Today's lovely craft that I completed is some DIY Summer Citrus Coasters, but before that let me say a few words :)

Wow! It has been so long since I have last posted! A LOT has happened in my life since then....for one I am  a college graduate from Grace University with a degree in Secondary Education and Religion!!!! Can I get a WOOP WOOP?!?! My husband also graduated right along side me, so it was a very special moment for the two of us :)

Now we are both on the job hunt and are excited for what God has in store for us! Thank God summertime is fully approaching and I have some time to craft again! I recently was busy making gifts for Mother's Day and also a Thank-you gift.  Thanks to Pinterest I came up with some pretty spiffy gifts.

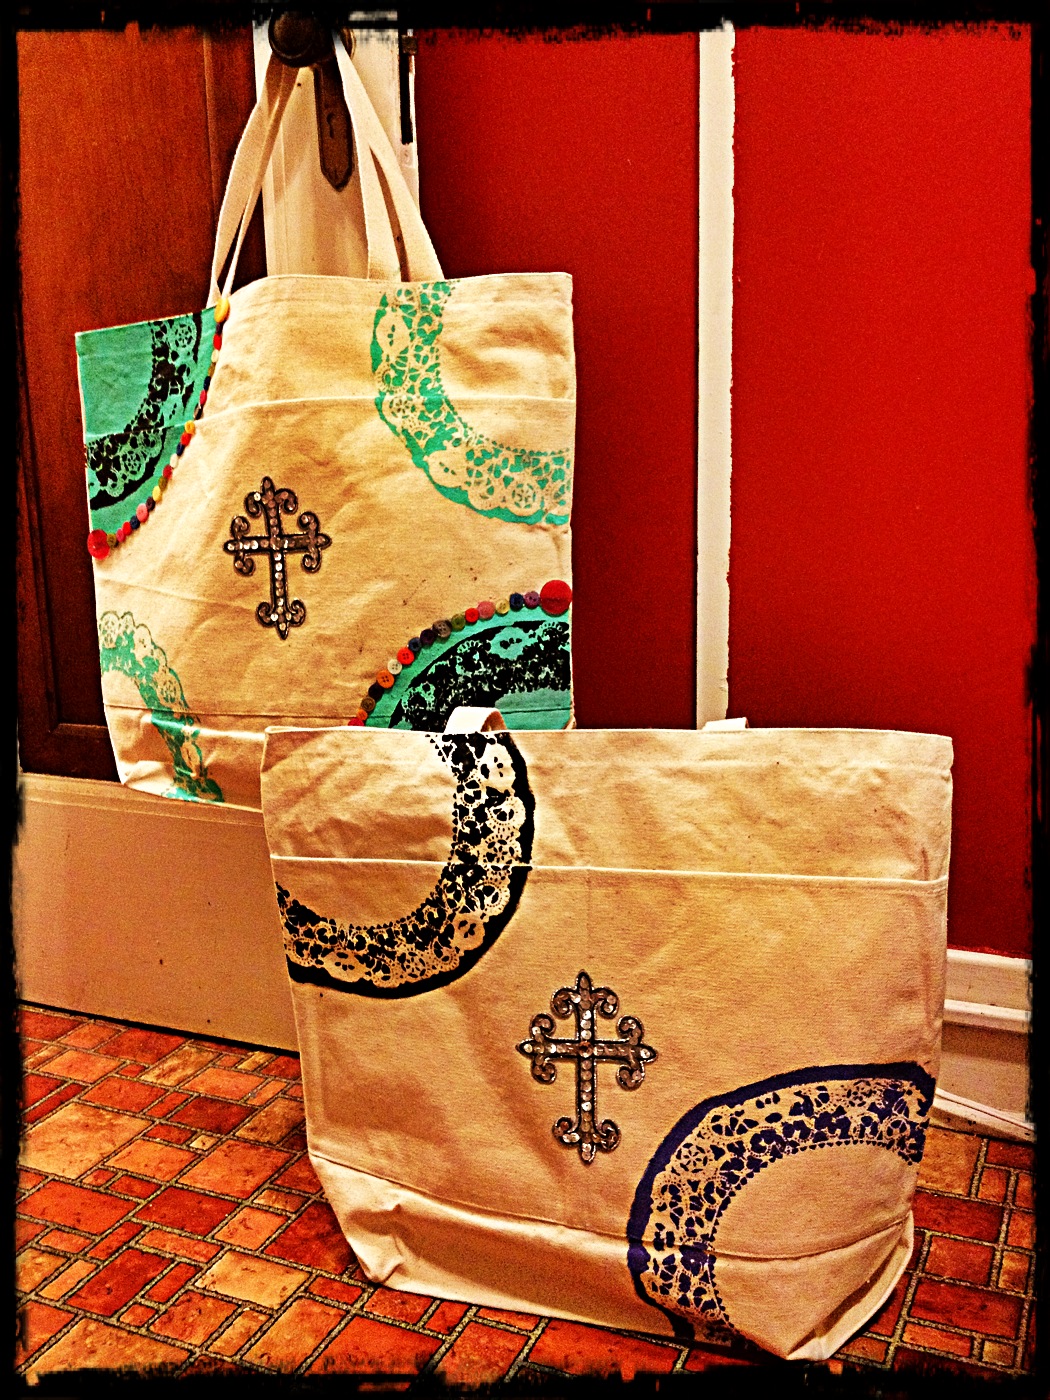
For Mother's Day I took some doilies to a canvas bag with just a little paint to create a chick carry all tote. Visit Under the Sycamore for the full tutorial. The picture below the totes is some Mason Jars I took and filled them with pampering goodies. This is really a perfect gift for any occasion :)


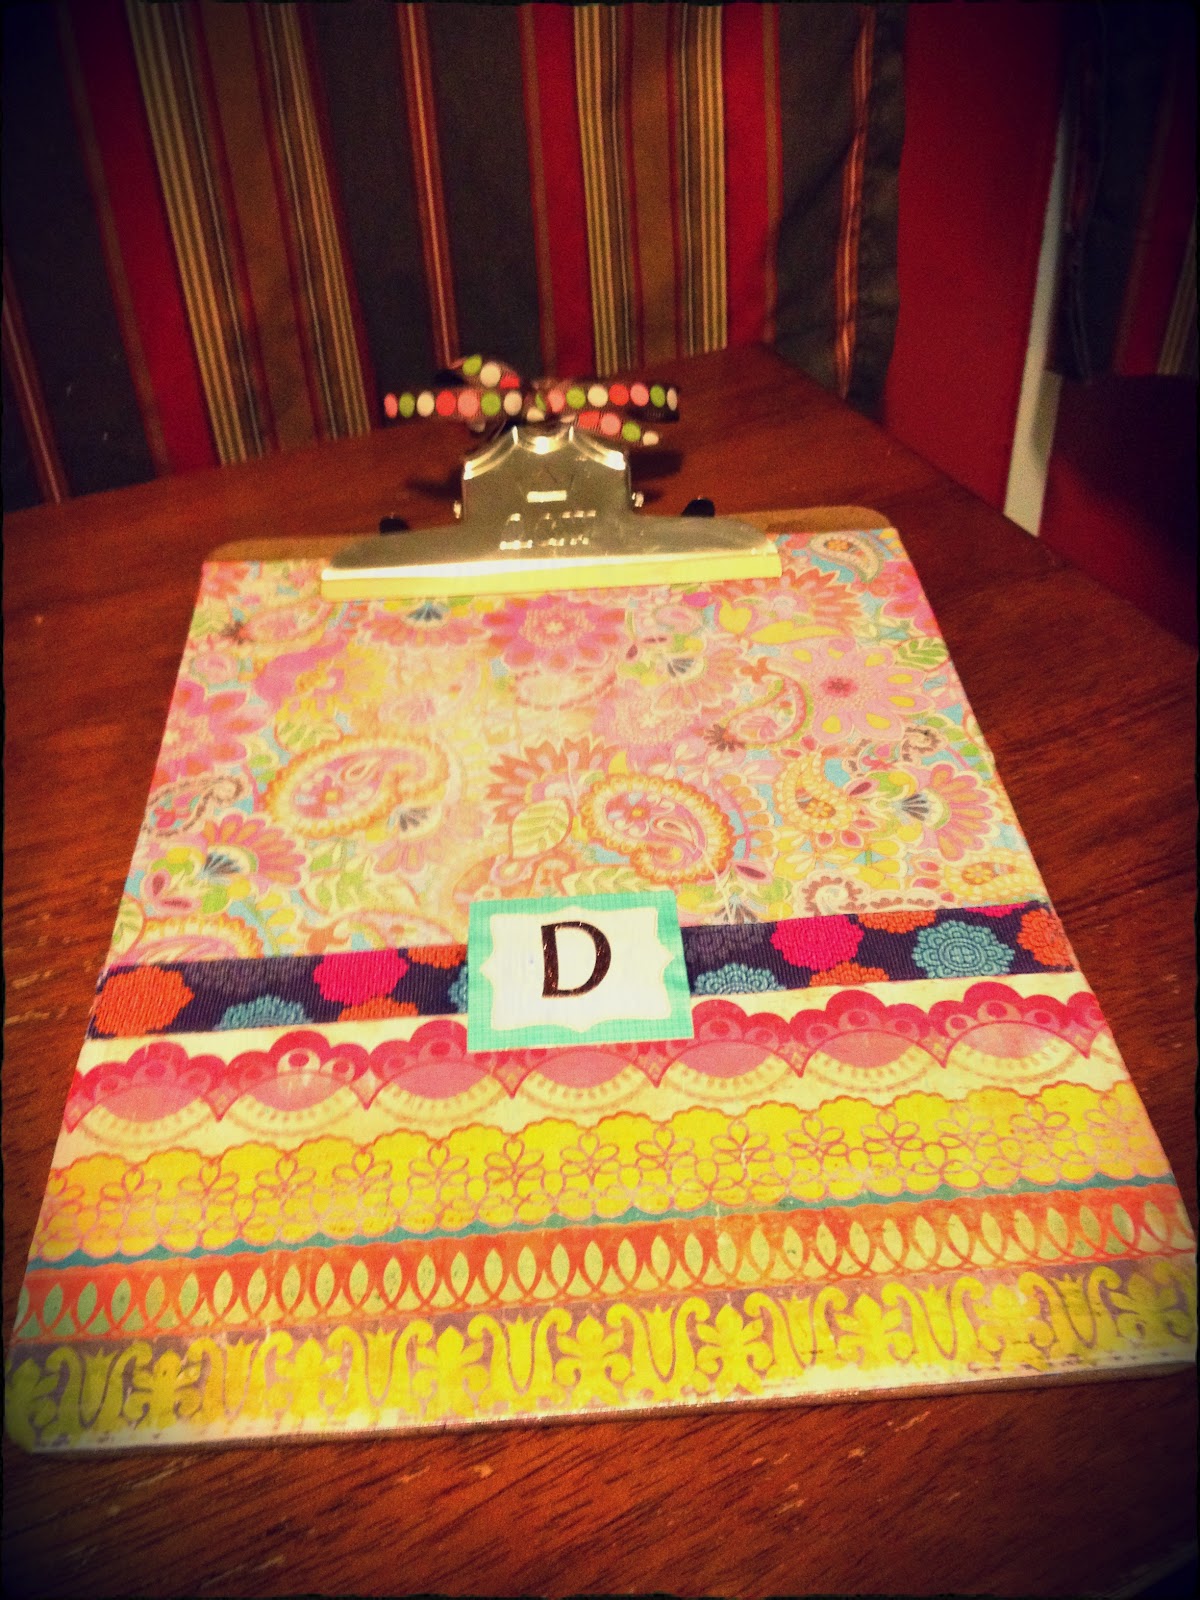
My teacher thank-you gift inspiration came from 1 Wasabi Mommy and Echoes of Laughter. The great thing behind these gifts is you can get almost all the supplies from the Dollar Tree! It was very tempting not to keep these cute items for my own classroom ;)


I know you are itching to see the instructions to the summer citrus coasters so here you are :) 


I was inspired by this project at The Purl Bee blog.  Hop over to her site for a template and full depth instructions to this crafty craft! Here is how I completed the coasters:


Supplies:
  • Colored & White Felt (I used white, pink, green, and yellow)
  • Embroidery Thread, needle, and pins
  • Scissors
  • Optional Printable Template @ The Purl Bee

1. Go the Purl Bee if you want the template to help out! You will first start off by cutting out the following using :
  • 2 Large Circles for the peel and backing (take a glass that you have and you that for measurement if not using the template)
  • 1 Medium Circle for the pith
  • 6-8 Colored Triangles 


2. Take the triangles and pin them to the pith and peel (not the backing yet!) I made the "seeds" by folding the triangle and cutting a mini triangle inside of it.


3. Using your embroidery thread (looks better if it's matching color) doing a small running stitch on the edges of the triangles.


4. When finished stitching your triangles pin the backing to the citrus peel, and then hide your embroidery knot between the peel and backing. Start a small running stitch all around the coaster. Do this until the citrus is stitched all around :) I tied a small knot when I was completed and hid it between the two pieces and snipped the rest off!
5. Trim the edges of the coaster to give it a nice and clean look.


6. Enjoy them inside or outside with a nice glass of your favorite beverage OR give them as a lovely housewarming gift for this summer :)


I would love to hear success stories of how your crafty crafts turn out so leave a comment below!

~Wishing you ALL creative bliss~

Thursday, December 1, 2011

DIY Natural Sugar Scrub

The official countdown to Christmas has begun! Happy December 1st! :) This is my favorite time of year for many reasons...

1. The main reason for this season...celebrating the birth of Jesus Christ, our Savior!

2. My husband and I will be celebrating our 1st wedding anniversary!

3. Being with family & friends, decorating & listening to Christmas music, eating lots of splendid food, and giving gifts! That's right, I LOVE to give gifts! 

One amazing gift that I am doing this year is natural body scrubs! It's a win-win for this gift, because it's inexpensive (for you), all natural, and therapeutic. Here is how I made mine, I couldn't help but share this amazing gift idea ;) 

Here's what I used:


  • Mason Jars (Half pint wide mouth)
  • Cane Sugar
  • Coconut Oil
  • Lavender & Peppermint essential oils
1. The measurements are going to vary depending on what size of jar you have. For mine I used: 3/4 cup of sugar, 5 tablespoons of coconut oil, and about 3-5 drops of oil. You add all the ingredients together and mix until you get a satisfied consistency. Very easy :) 


2. I made some round labels for the tops of the jar and added some ribbon for a personal touch. 


Need labels? I used scrapbook paper and made these labels (jar labels).
Remember you can use different essential oils and also experiment with your base oil. I used coconut because it is good for the skin :)
Hope your scrubs turn out as awesome as mine!